Initial Configurations
Web GUI
After installation, a message will appear stating the Web GUI is available at XXXX.XXXX.XXXX.XXXX
My web GUI is @ 192.168.1.1
Login Page
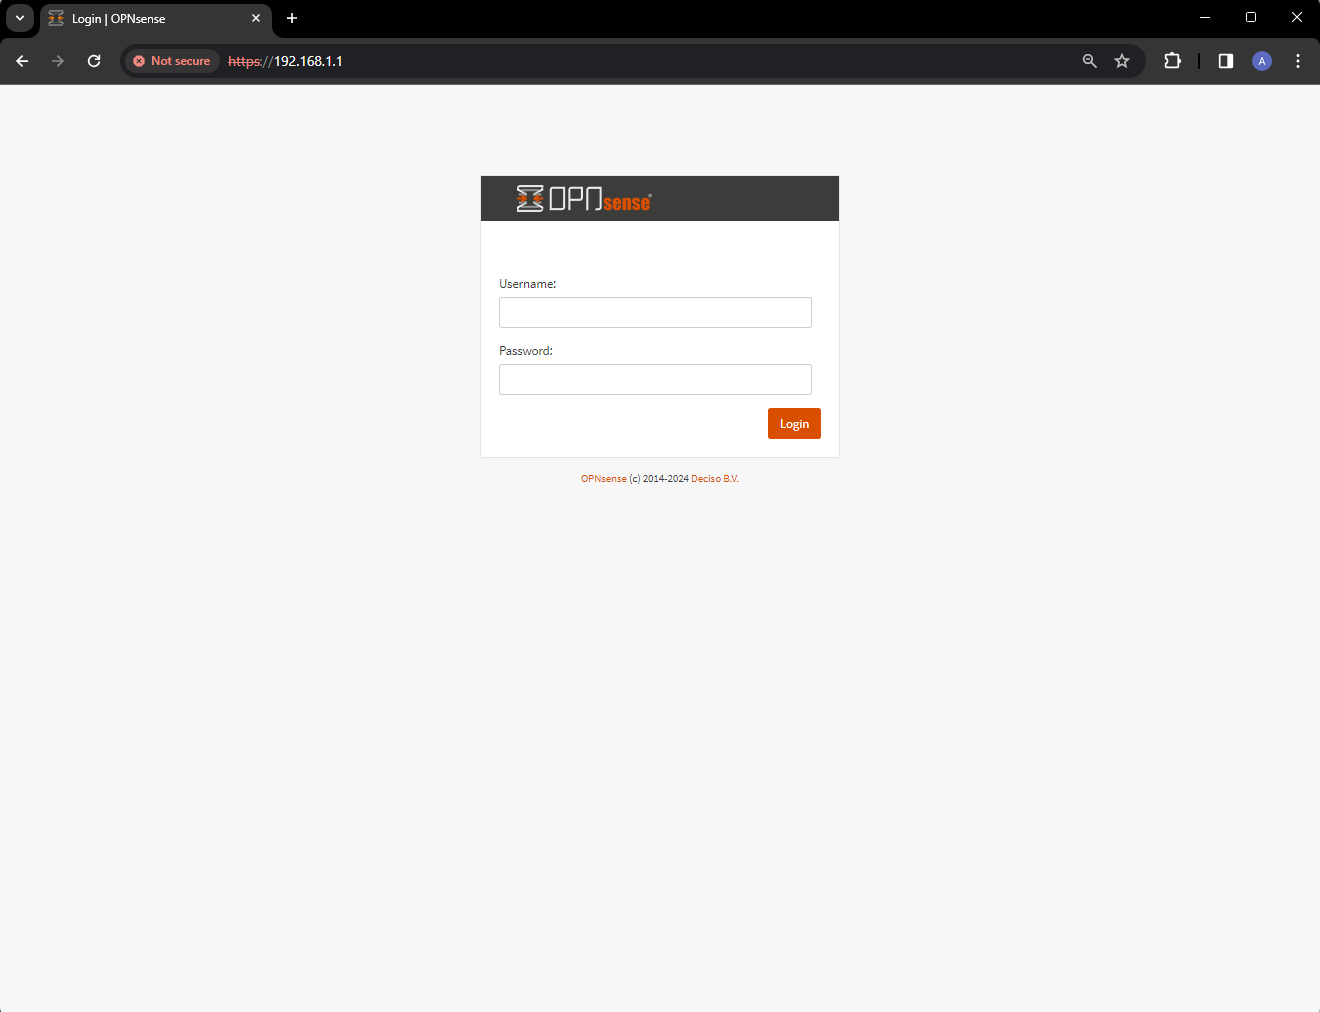
Login as root, with the password you set up during installation. Once you go through the initial set up wizard, your dashboard will show up. You can configure widgets on your dashboard however you'd like to view your most important network statistics!
I currently have both OPNsense's IDS/IPS running alongside ZenArmor's NGFW which shows me utilizing 72% of my 8gb ram. Without these 2 services, your RAM usage, if 8 GB, should be less than 30%

Interfaces
OPNsense allows you to set up Interfaces, which can be used to set up separate networks. I set up 2 interfaces to allow my homelab to operate on 1, and all other devices (including my roommates) to operate on the other. The Interface assignments are as follows:
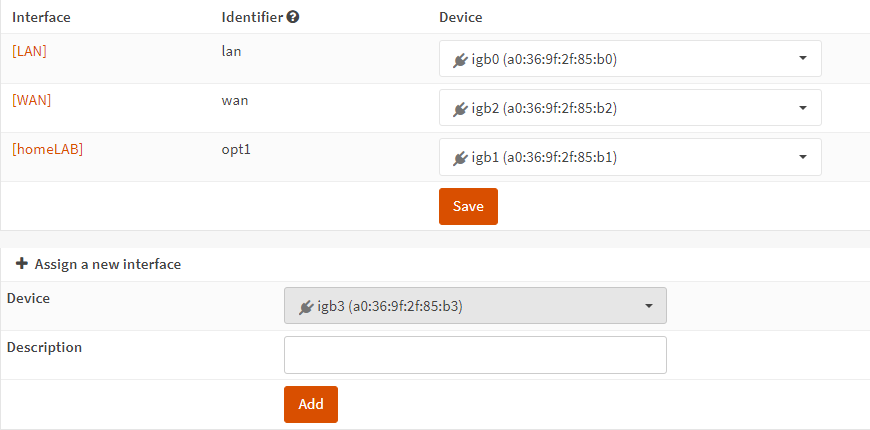
Here, you can see the devices (ports) and the interfaces you've assigned.
- igb0 = Port 1 of my NIC, which is connected directly to my Eero Mesh Router
- igb1 = Port 2 of my NIC, which connected to an 8-port gigabit switch, for my homelab
- igb2 = Port 3 of my NIC, which is my WAN connection from my modem to my OPNsense machine
- igb3 = Port 4 of my NIC, which is currently open and not connected to anything.
You can reassign these ports in the Interfaces --> Assignments tab, should you happen to change anything in the future.
Interface Configurations
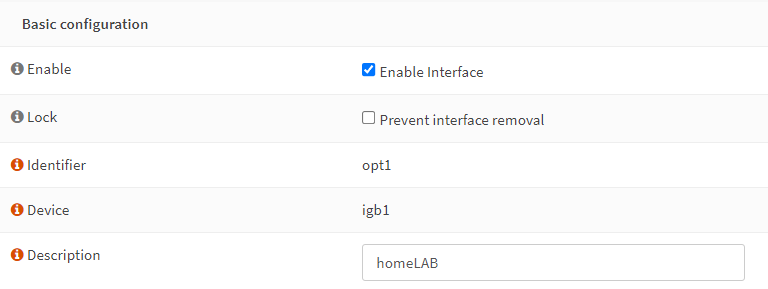
After hardwire connections and assigning interfaces to each port, you'll have to enable the interface. Navigate in the sidebar to Interfaces ---> OPT1. Enable the interface and give it a name in the description section.
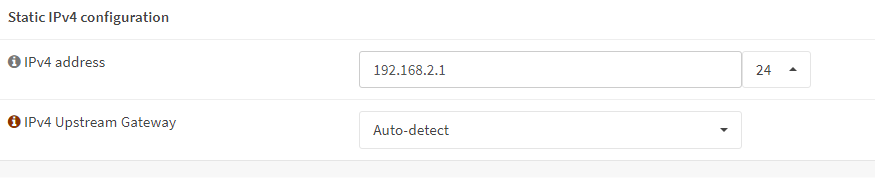
Next, assign your Interface a Static IPv4 address, and select "24" to give that IP the full range of associates IPs. I've given my homeLAB interface a static IP of 192.168.2.1/24
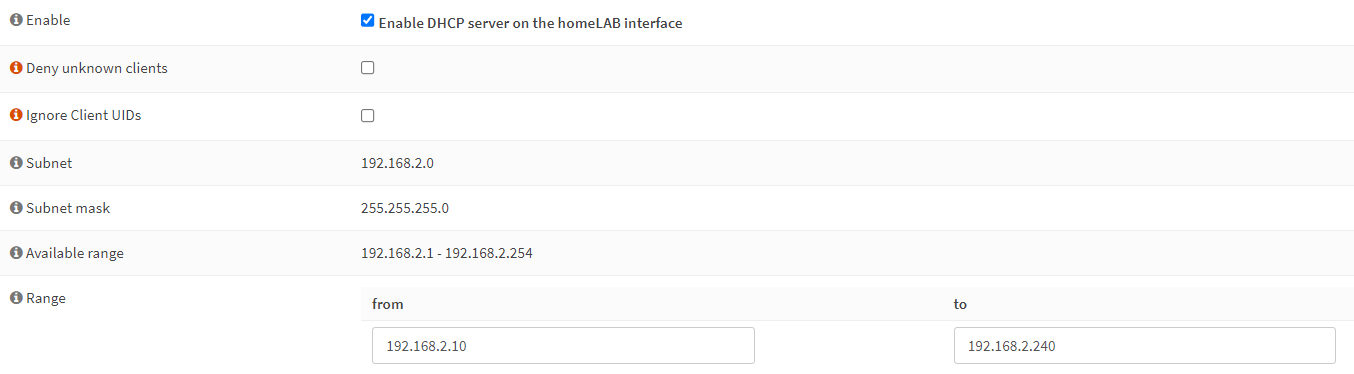
After saving changes, you'll need to first apply the changes and then adjust your DHCP server range. To do this, navigate to Services --> ISC DHCPv4 --> homeLAB (or whatever your name your new LAN). Enable DHCP server on the interface, and then designate a range of addresses in between the available range.
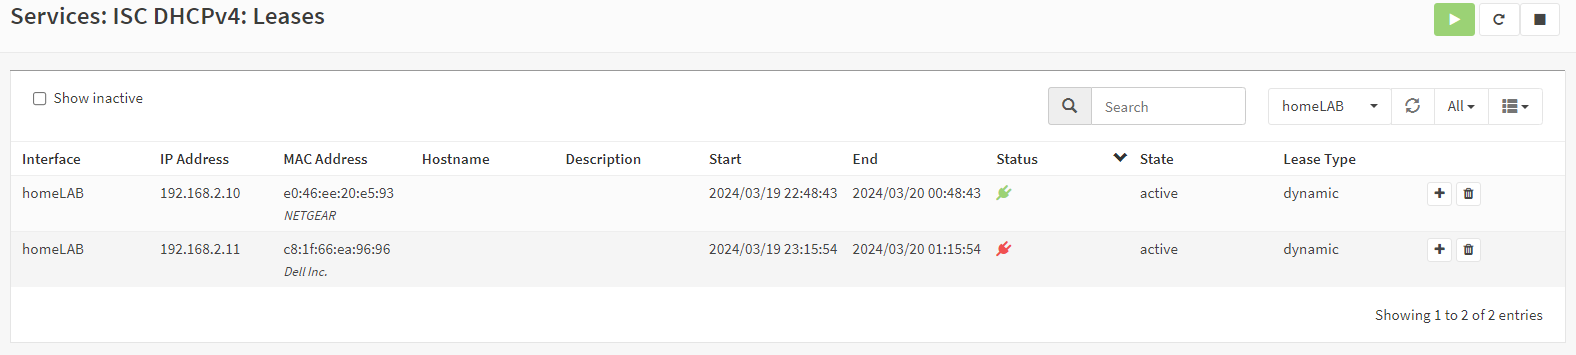
Save your changes and apply if needed. To confirm you've configured everything properly, navigate to Services --> ISC DHCPv4 --> Leases and filter for your interface, in my case, homeLAB. Here, you'll find active devices on your interface. In my case, I have my homeLAB interface going through a NETGEAR switch which is connected to my Dell PowerEdge server:
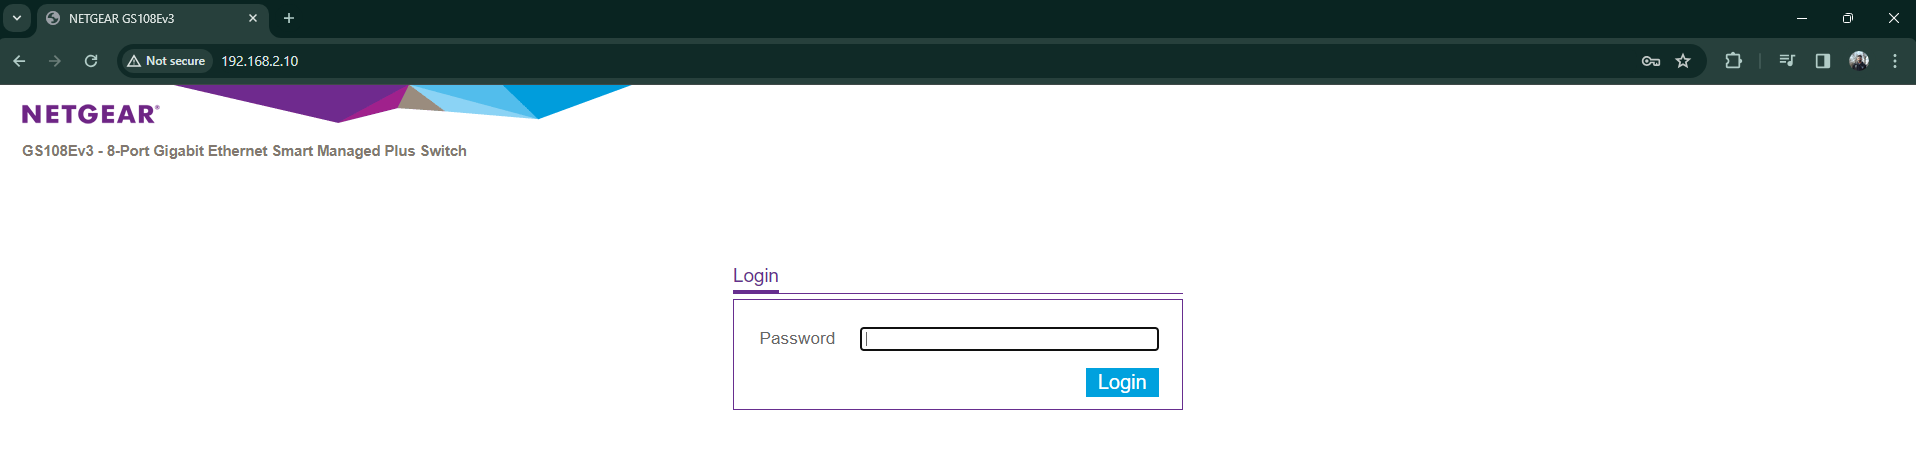
To further test it, I'll check if I can access my switch's Web GUI:
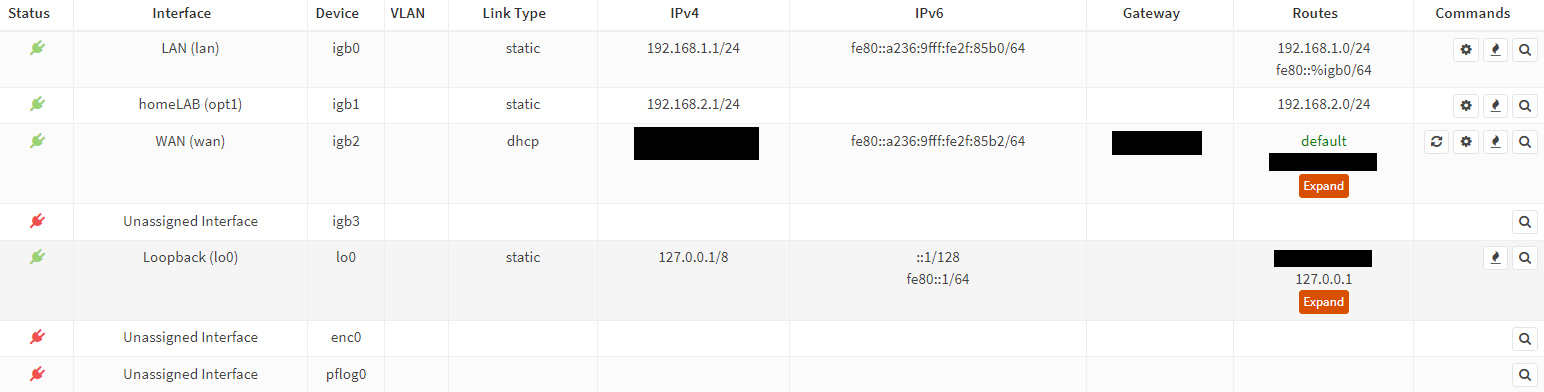
You can view all of Interface information in the Overview tab under the relevant Interfaces Section. With everything configured, it should look somewhat similar to whats below: