Windows Server 2022
Proxmox VM Set Up
Install Files
To start, you'll need to download some files. The 2 files you need are the Server ISO and the VirtIO Driver. You can download the latest stable release at the link below:
- Windows Server Evaluation ISO
- Windows VirtIO
- Download the latest stable release.
When configuring your VM use the following settings to ensure you're VM can boot correctly:
OS Configs
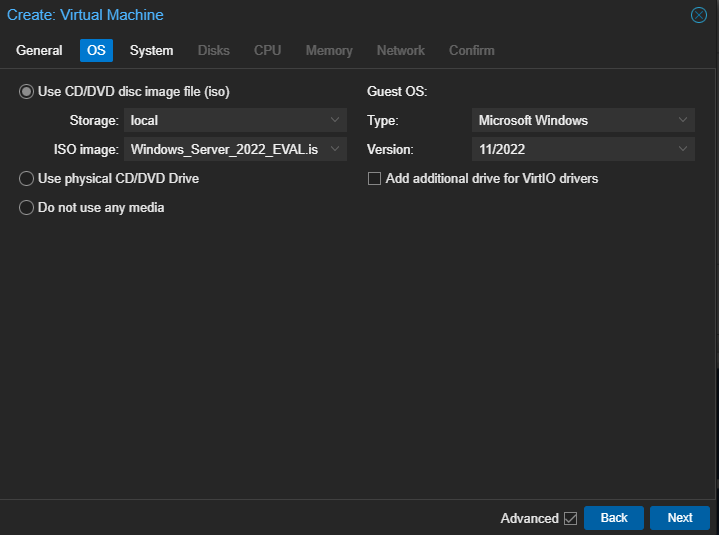
- Change your guest OS type to MS Windows and select the correct version
System Configs
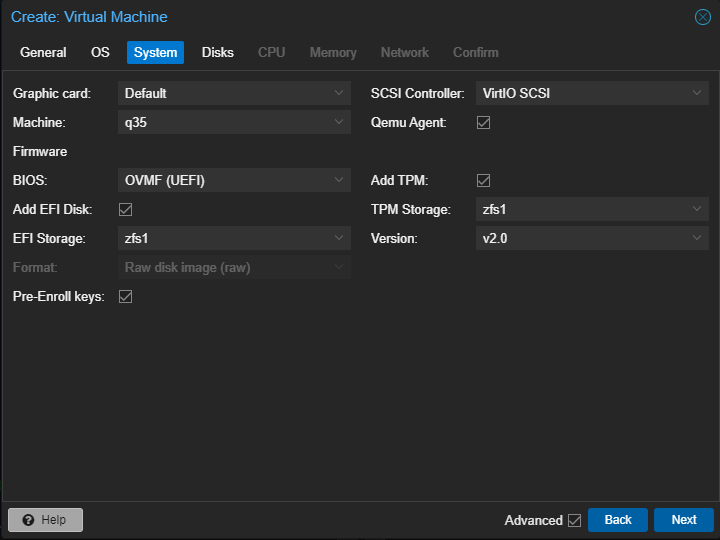
- Select q35 for Gen2, default is i440fx
- Change BIOS to OVMF(UEFI), default is SeaBIOS
- Change your SCSI Controller to VirtIO SCSI, default is VirtIO SCSI Single
- Check Qemu Agent
Disk Configs
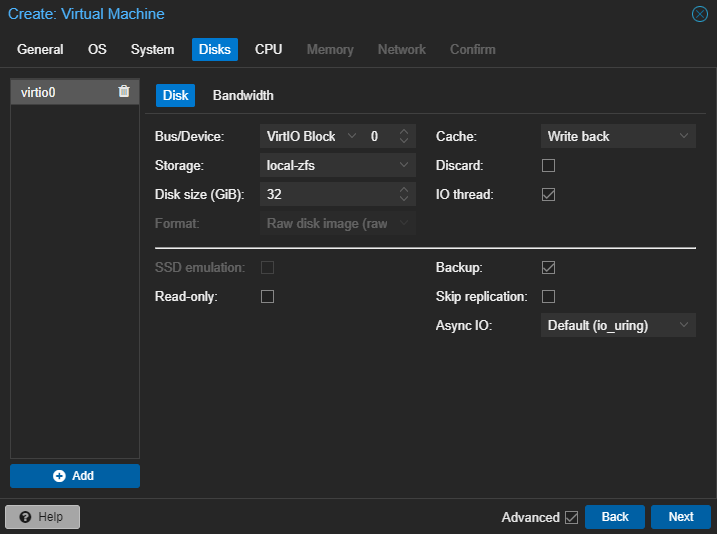
- Change your BUS/Device to VirtIO Block, default is IDE
- Change cache to Write Back, default is No Cache
CPU Configs
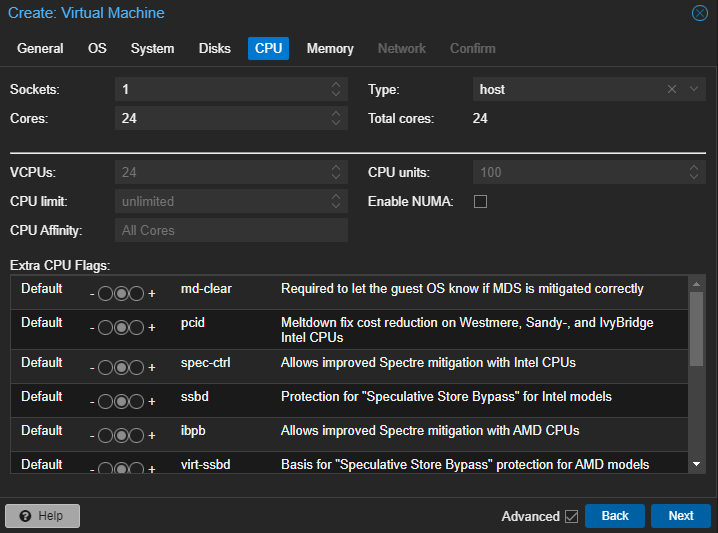
- Change type to Host, default is x86-64-v2-AES
Memory Configs
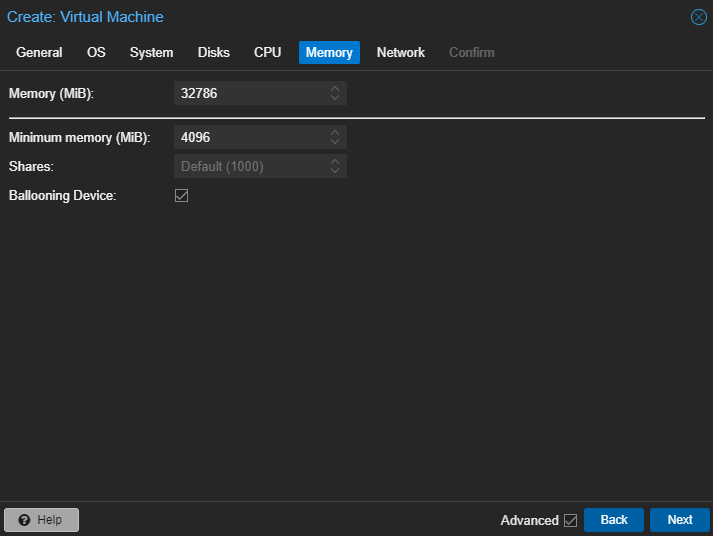
- Make sure Ballooning Device is enabled so RAM that isn't being used can be freed
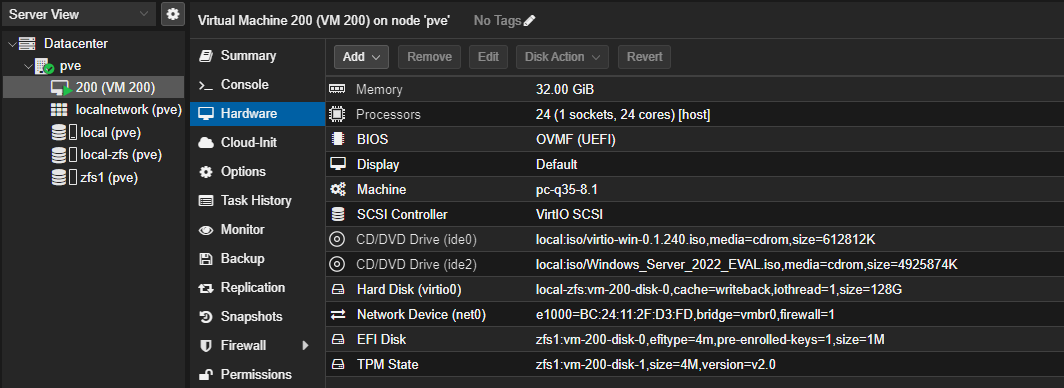
VM Hardware
Once created, select your VM and navigate to the hardware section. Select Add, and add CD/DVD device. Here, you'll add the VirtIO driver. I've already added it, so you'll see 2 CD/DVD Drives.
Installation
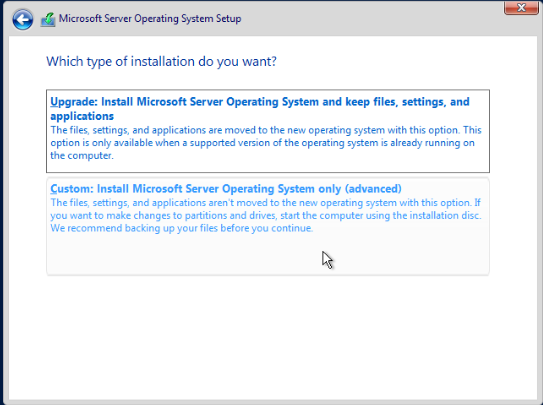
Start your VM to begin installation and navigate into the console section of your VM. Select defaults as desired. Once the installer reaches installation type, select Custom:
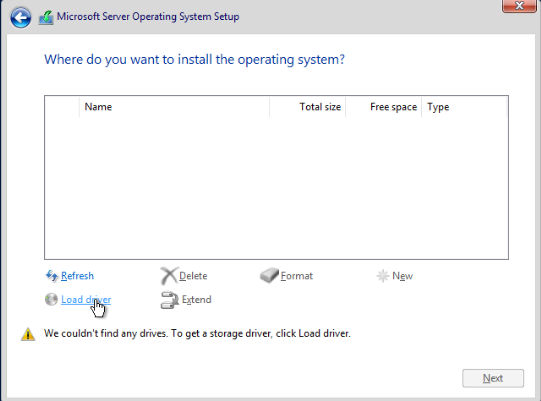
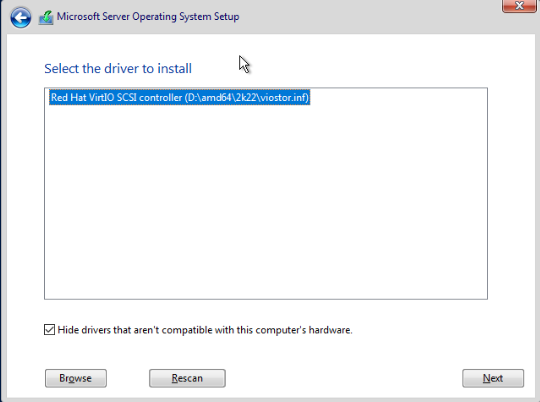
Here, you'll load the VirtIO driver:
Select Browse, then select the following:
- CD Drive (D:) virtio-win-X.X.XXX ---> amd64 ---> 2k22
Select the Red Hat VirtIO SCSI Controller, then click next:
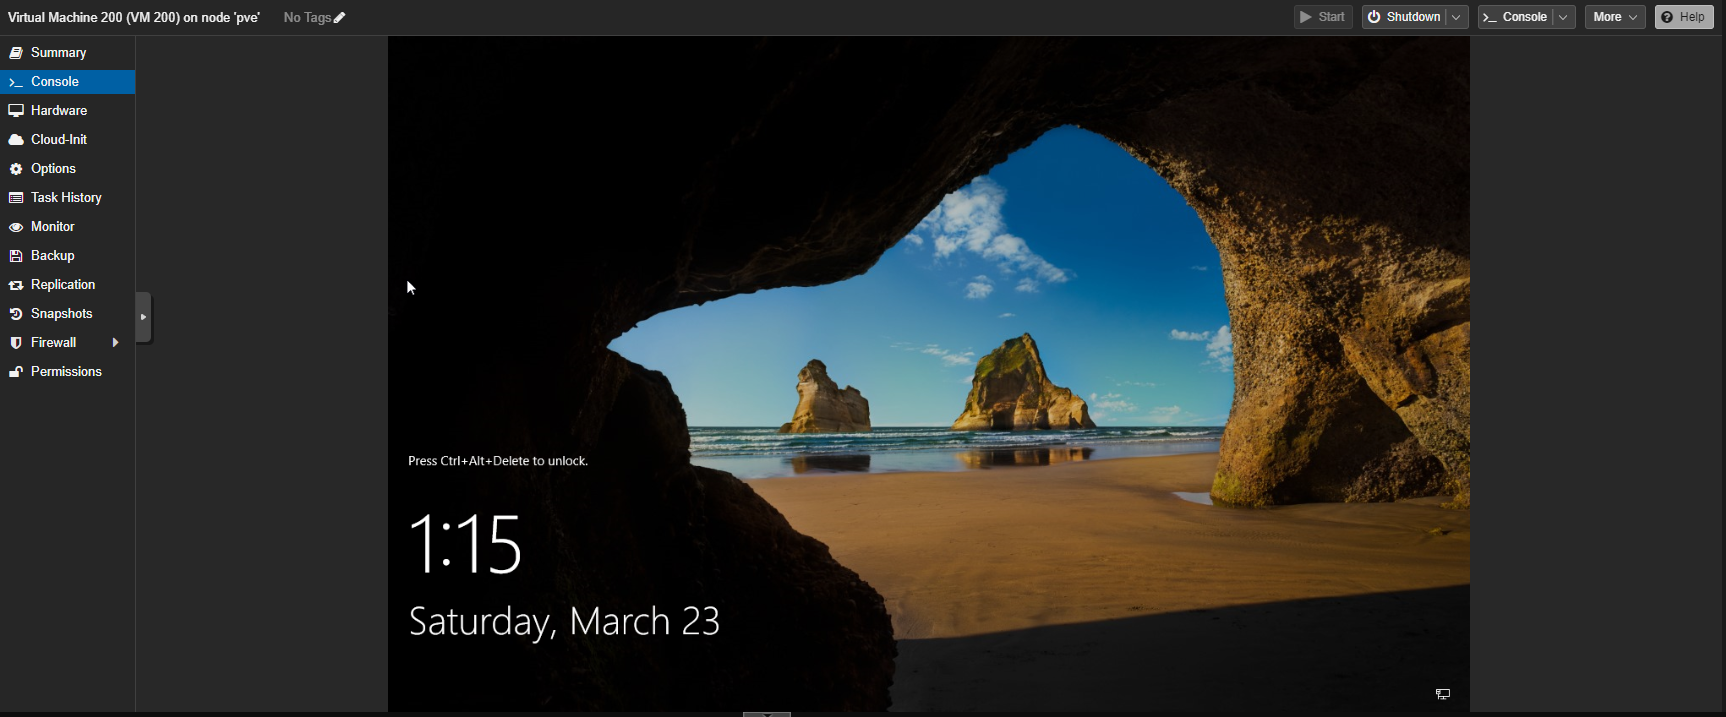
Once installed, it will ask you what disk you'd like to use. Select the Disk and then continue the install. Once the device reboots, you'll be prompted to enter an admin password, then you should arrive at the following screen:
Final Steps
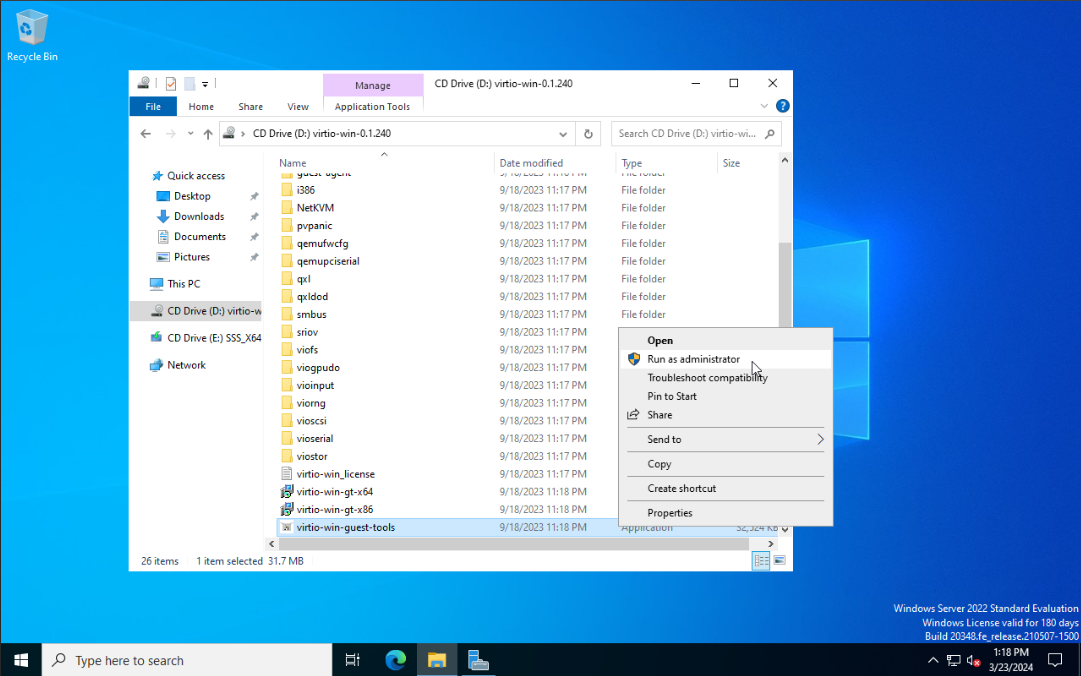
The last thing you'll need to do is install the VirtIO win-guest tools and then remove boot drives attached to the VM to ensure proper installation.
- Launch the virtio-win-guest-tools application as administrator by navigating as follows:
- File Explorer --> CD Drive (D:) --> virtio-win-guest-tools
-

- Select defaults for installer, then close out and power off VM.
Next, remove the CD Drive for VirtIO from the Hardware section of your VM in Proxmox, and then configure the Server ISO CD/Drive to "Do not use any media":

Your installation of Windows Server is now complete!
Setting Up Server as Active Directory Domain Controller
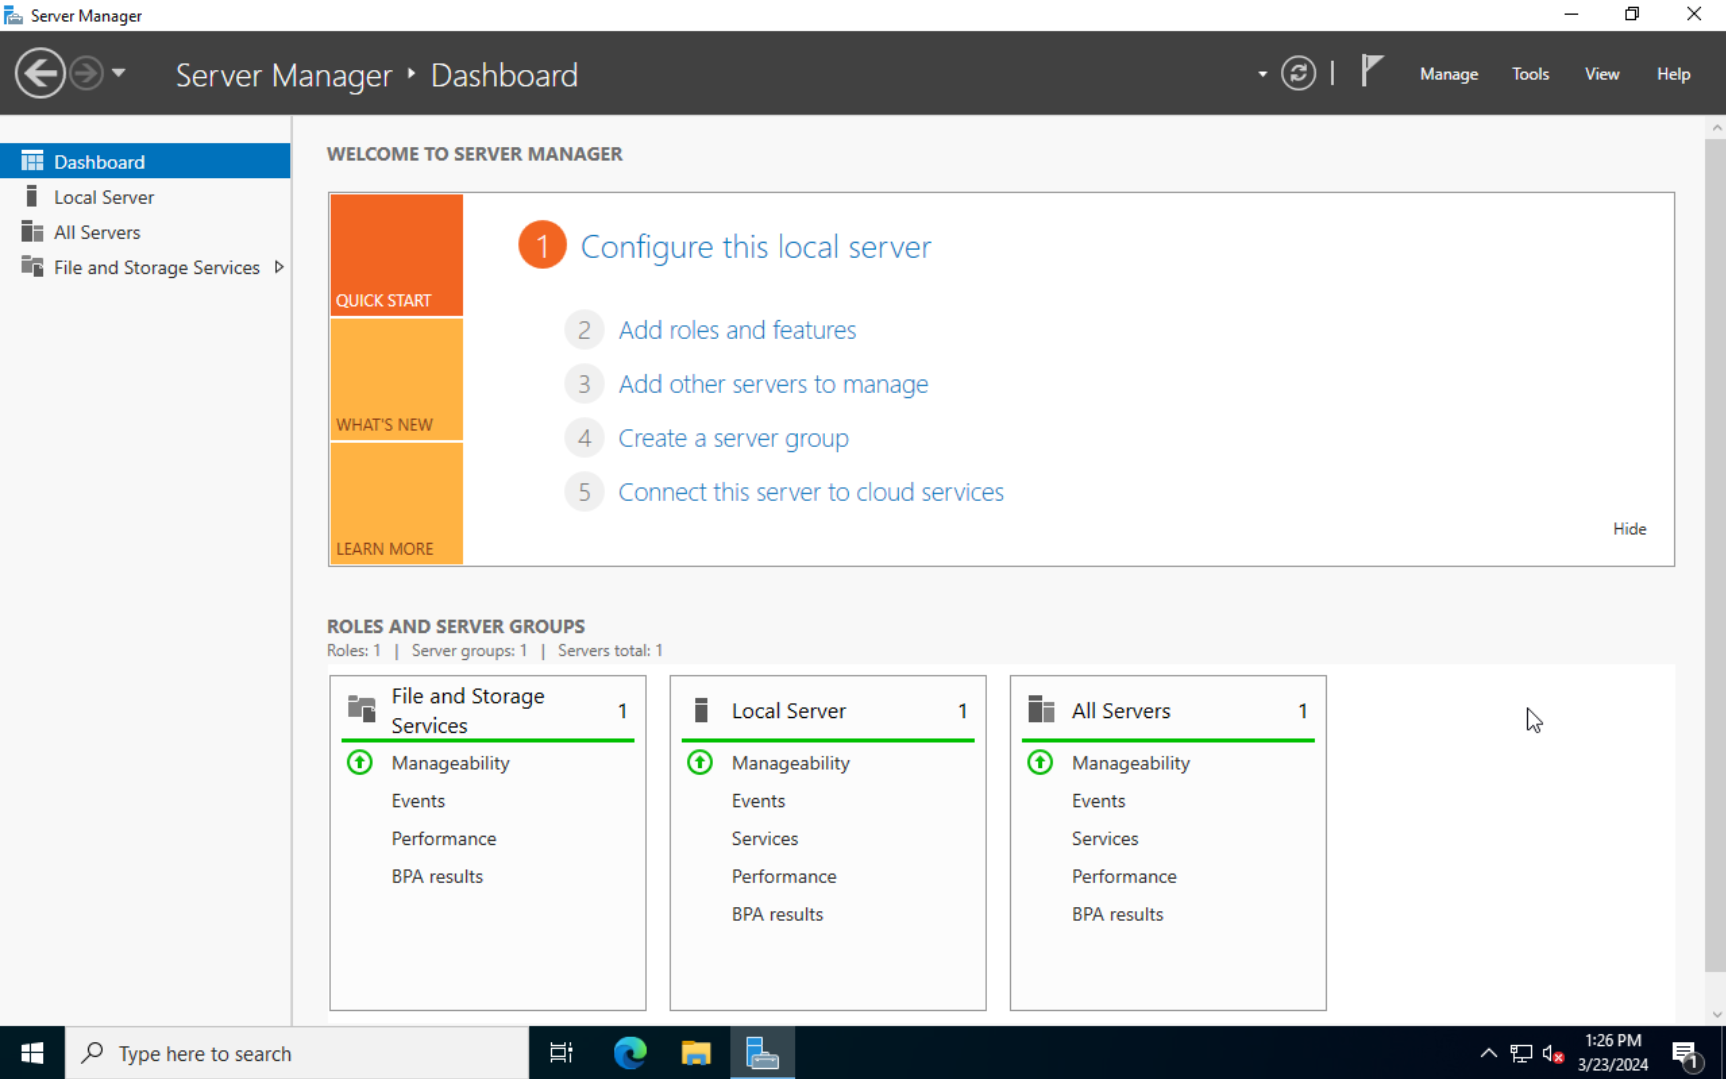
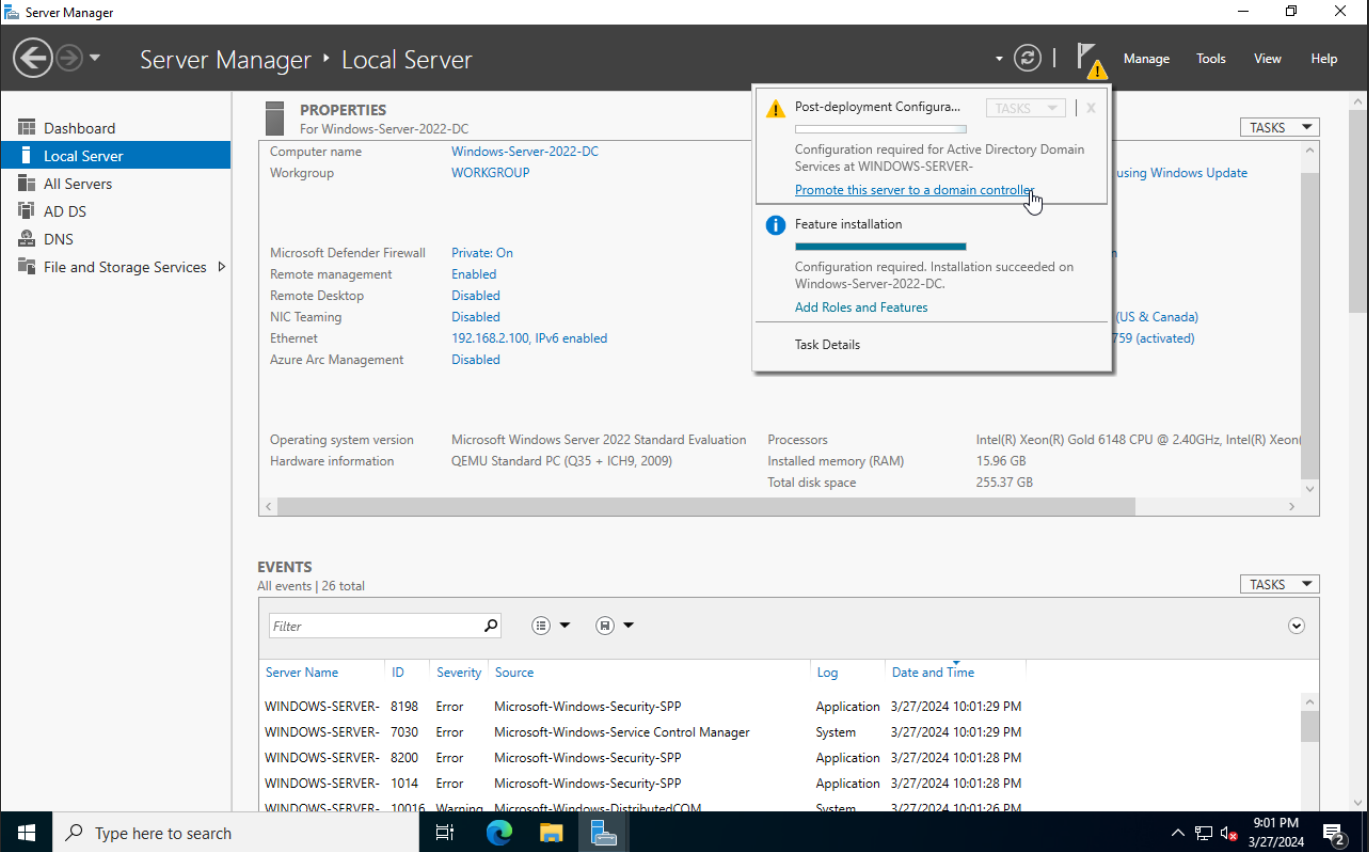
Keeping it simple, select install Active Directory Domain Services and DNS Server, via Manage ---> Add Roles and Features.
After installation, promote your Windows server to a Domain Controller :
A Deployment Configuration Wizard screen will pop-up. This step is important to properly setting up active directory services! Select Add a new Forest to begin the configuration wizard:
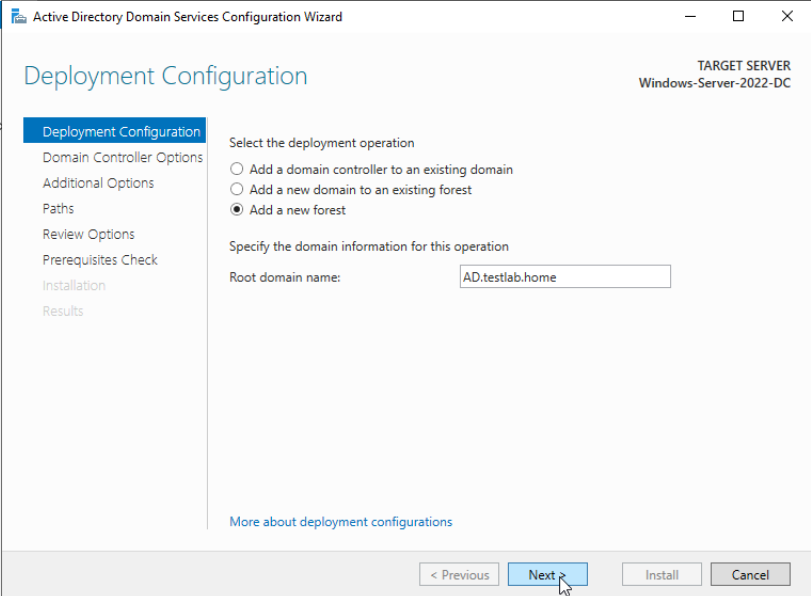
- Here you can see I've entered AD.testlab.home as my Root Domain Name
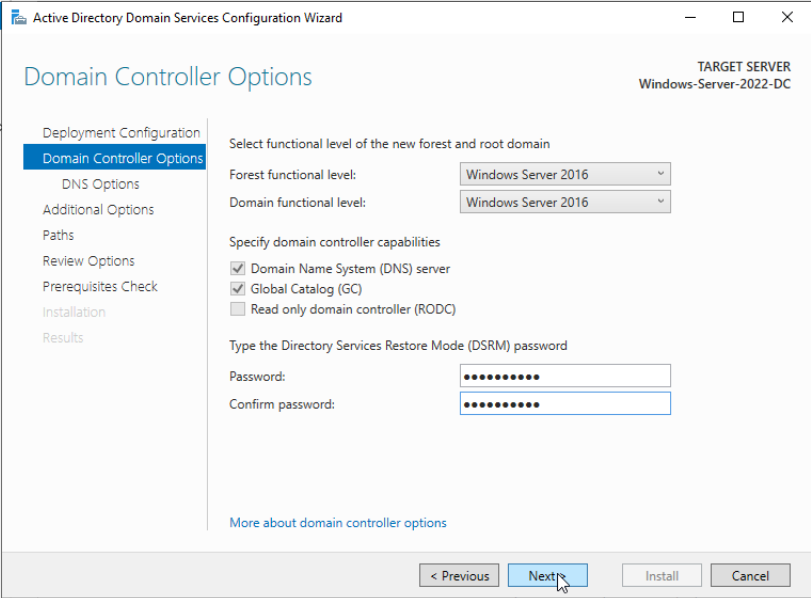
- Here you can set levels if you plan on connecting other Windows Servers. For my purposes, I'll be keeping it at its default of Windows Server 2016
- Set your DSRM password and store it safely.
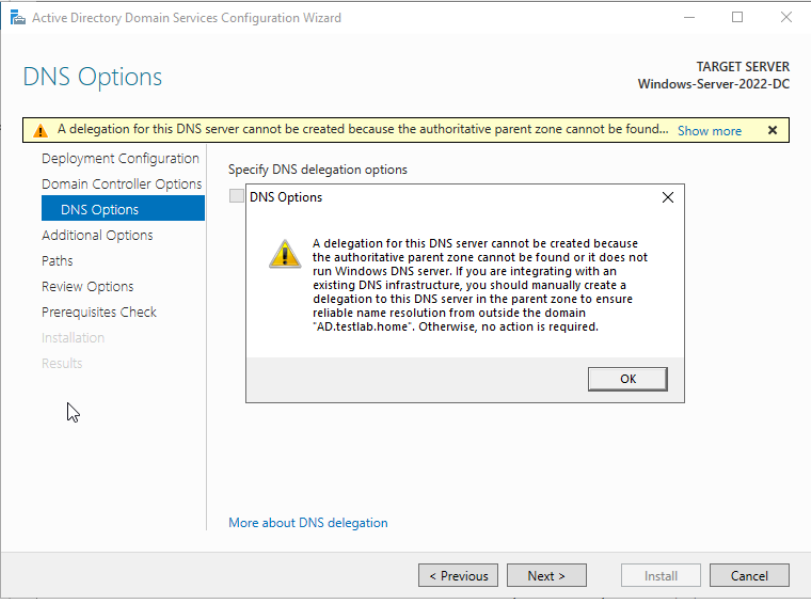
If you're setting this up in a test environment, you'll likely see the following warning pop-up. For our purposes, this is okay:
Click through Additional Options, Paths, and Review Options to get to the prerequisite checks:
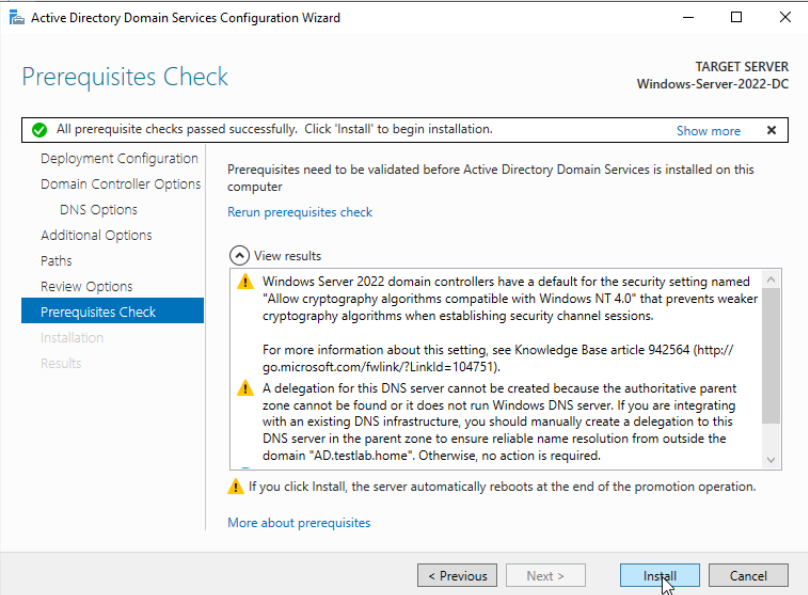
- Again, these warnings are okay for test environments. For production, you'll want to acknowledge them and make changes accordingly.
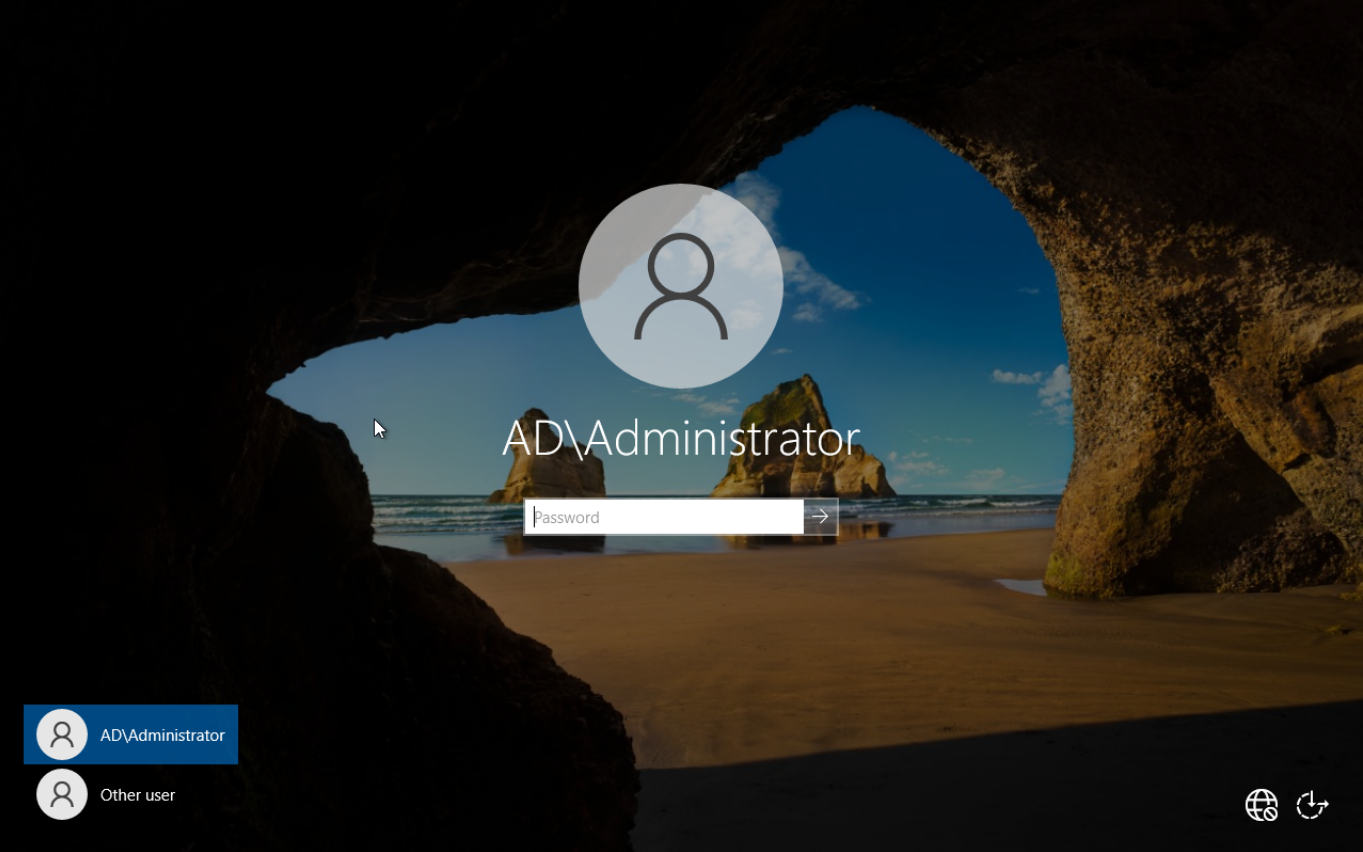
- After installation, the server will need to restart, and you should now be able to log in as Domain Administrator, which should say AD/administrator:
Useful Tips:
- If you're like me, you're using an evaluation copy of Windows and don't have any plans of purchasing a costly license anytime soon. To rearm the license and reset the count back to 180 days, run the following command in PowerShell:
-
slmgr -rearm
-