Ubuntu 22.04 Template with Cloud-Init
Creating a cloud-init template is relatively simple and straightforward to do. Essentially, you'll want to create your VM with base configurations, and then convert it to a template within Proxmox VE. Follow the steps below to create your own template with cloud-init.
Create your VM in Proxmox

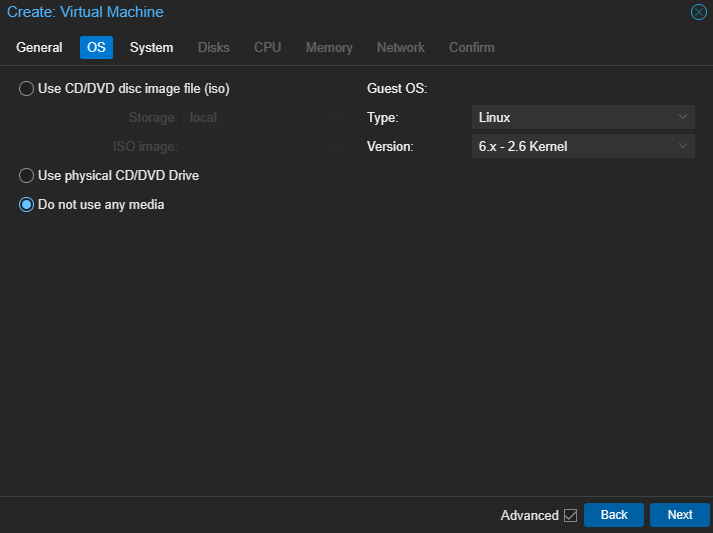
OS Settings
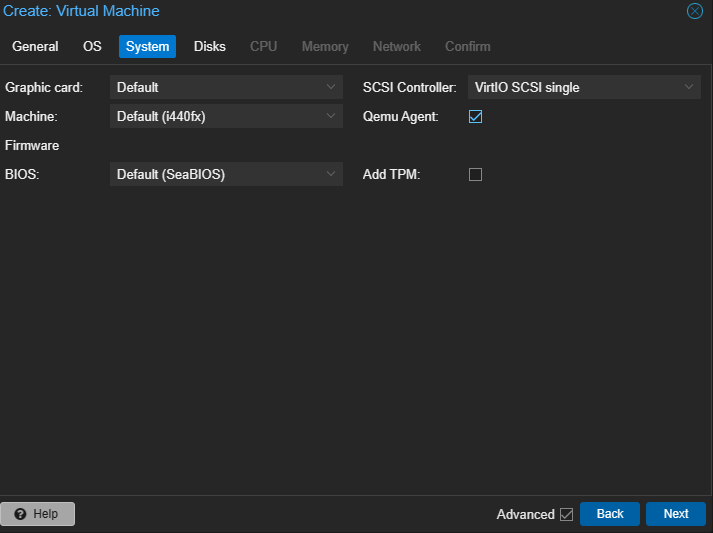
System Settings
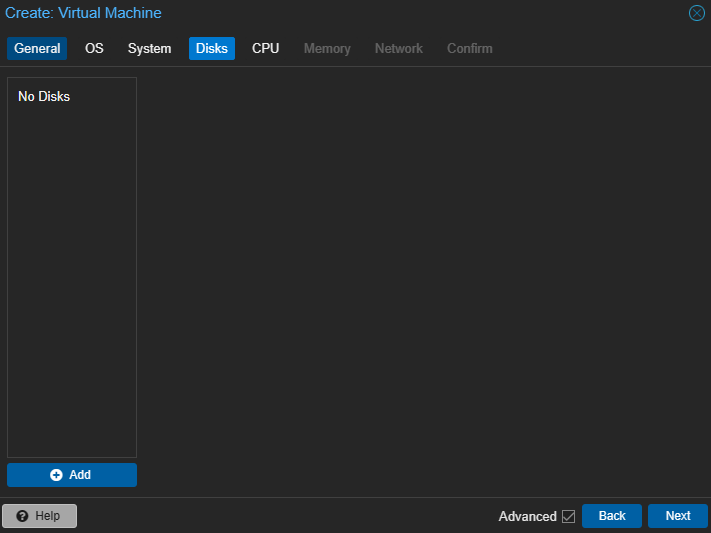
Disk Settings
CPU Settings
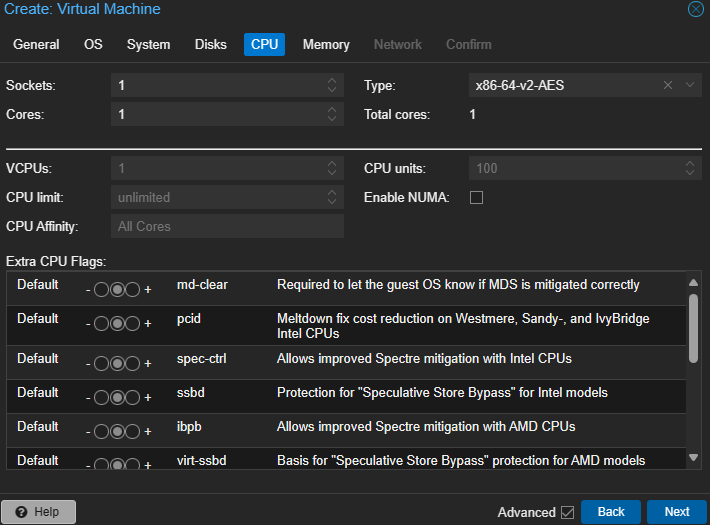
You can keep this at default settings, or change depending on what your intentions are for this template. I plan to use this specific template for Kubernetes nodes, so I'll be using minimal requirement specs
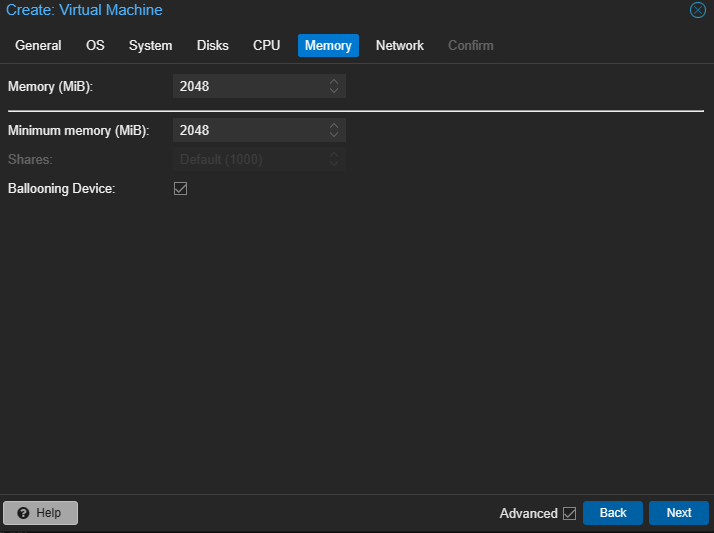
Memory Settings
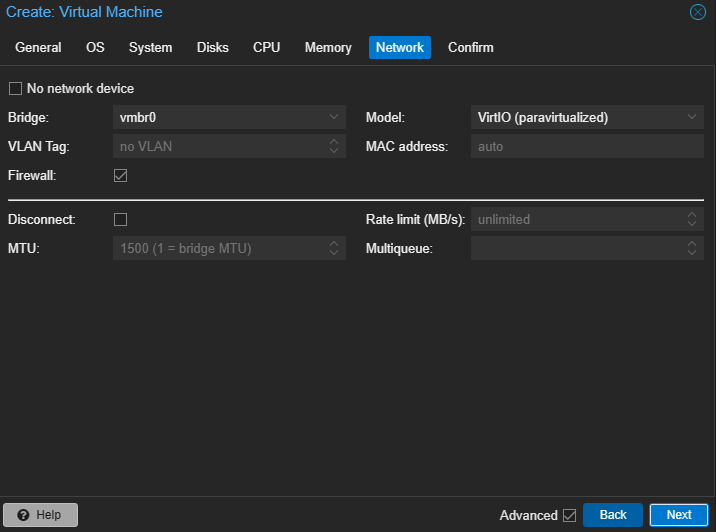
Network Settings
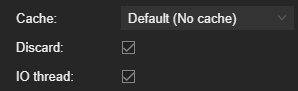
Hardware Settings
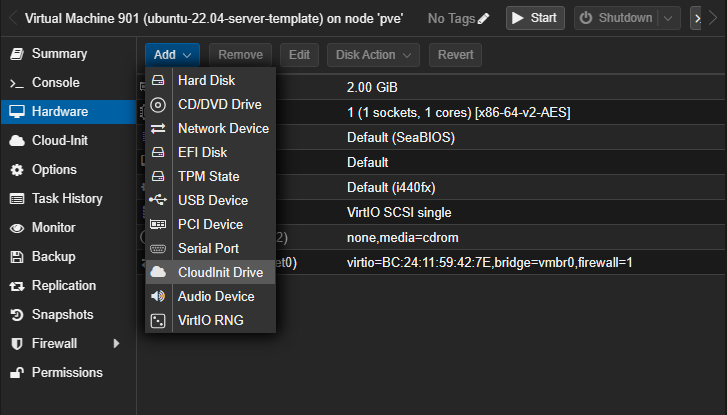
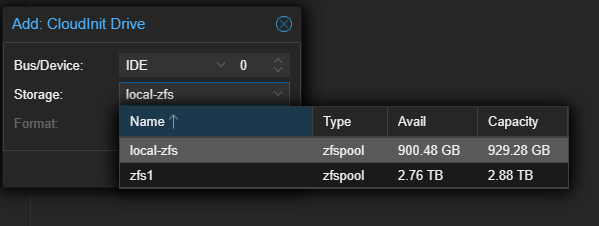
Cloud-Init Settings
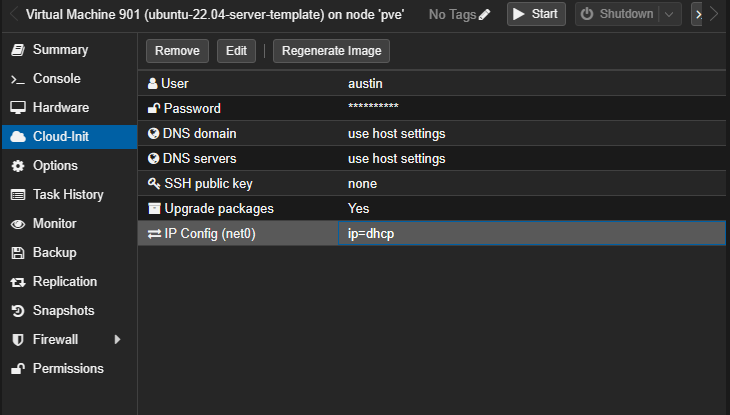
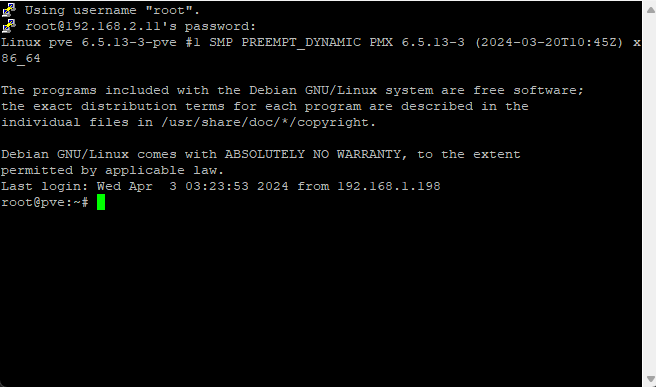
Establish a terminal connection to your Proxmox VE so you can configure Cloud-Init further
You'll now want to download the cloud image you'd like to use for the VM with wget. You can find Cloud Images at the Ubuntu Cloud website and select any version of flavor of linux you'd like. I'll be using the Ubuntu Minimal 22.04 LTS (Jammy) image:
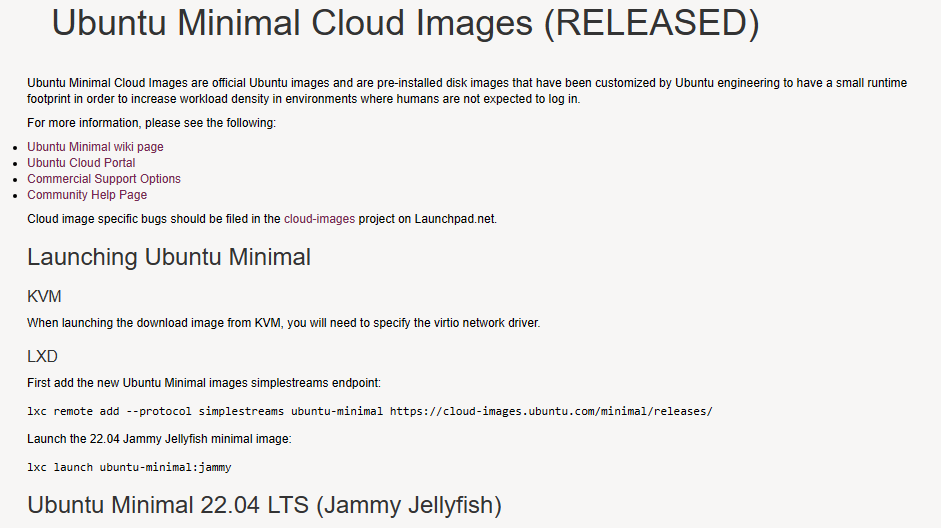
Select the release you'd like to use, or scroll all the way down and select release/ for the most current. In this folder, find the amd64.image and copy the download link.
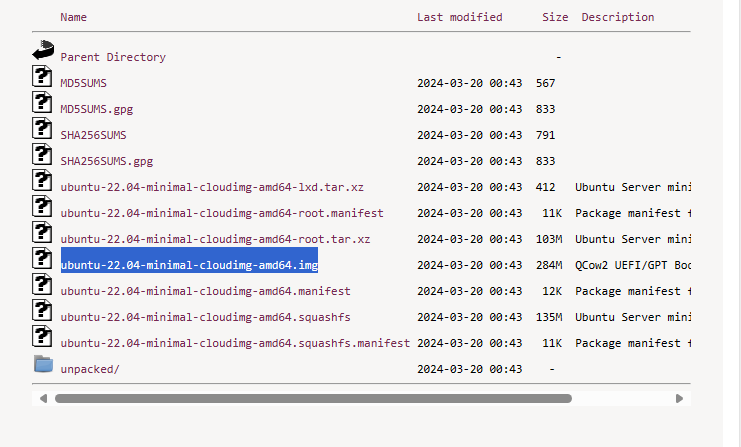
In your terminal window for Proxmox, run the command below:
wget https://cloud-images.ubuntu.com/minimal/releases/jammy/release/ubuntu-22.04-minimal-cloudimg-amd64.imgAfter downloading, run the ls command to view the file name:

Since I've already created templates before, I have some files already in there. The file I just downloaded is ubuntu-22.04-minimal-cloudimg-amg64.img
Before moving forward, run the following command:
qm set 901 --serial0 socker --vga serial0Next you'll want to rename the file and change the file extension to .qcow2
Run the following command:
mv ubuntu-22.04-minimal-cloudimg-amg64.img ubuntu-min-2204server.qcow2Set the disk size with the following command:
qemu-img resize ubuntu-min-2204server.qcow2 32GNext, you'll want to run the following command to import ther drive to your VM in Proxmox:
qm importdisk 901 ubuntu-min-2204server.qcow2 local-zfs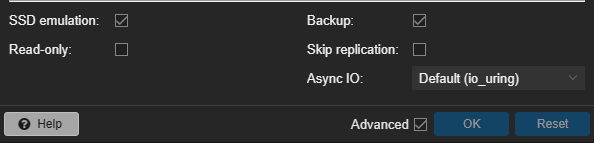
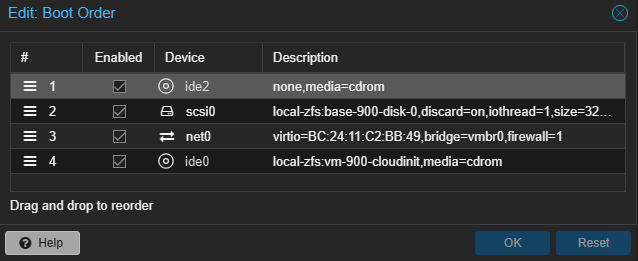
The last step before starting the VM is to edit the Boot Order. You can do this by navigating to the Options tab within your VM.
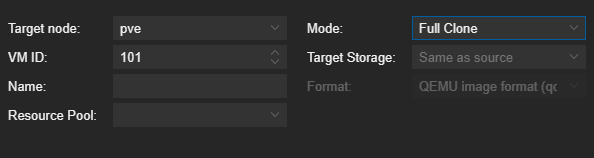
With all your configurations set, right-click on the machine and select "Convert to Template". To test everything's worked correctly, right click on the template and select "Clone" then select "Full Clone" for the mode:
Start your machine and test that it's working as configured!